ADVERTISEMENT
Instructions:
1. Activate the Yeast:
In a small bowl, combine the warm water and sugar. Sprinkle the active dry yeast over the water and stir gently to dissolve. Let it sit for 5-10 minutes until the mixture becomes frothy and bubbly. This means the yeast is active and ready to go. If it doesn’t foam, your yeast might be expired or the water may have been too hot or too cold, so try again with a fresh packet of yeast.
2. Prepare the Dough:
In a large mixing bowl, combine the flour and salt. Make a well in the center and pour in the activated yeast mixture along with the softened butter. Using a wooden spoon or your hands, mix everything together until a rough dough forms. If the dough feels too sticky, add more flour, one tablespoon at a time, until it becomes manageable. On the other hand, if it’s too dry, add a little more water.
3. Knead the Dough:
Transfer the dough onto a floured surface and knead it for about 8-10 minutes. To knead, fold the dough in half, press it down with the heel of your hand, then fold it over and repeat. Keep kneading until the dough is smooth, elastic, and no longer sticky. You can also use a stand mixer with a dough hook for this step, which should take about 6-7 minutes.
4. First Rise:
Once kneaded, form the dough into a ball and place it in a lightly greased bowl. Cover it with a clean kitchen towel or plastic wrap. Let the dough rise in a warm place for about 1-1.5 hours, or until it has doubled in size. This is the first rise and allows the dough to develop its texture and flavor.
5. Shape the Dough:
After the dough has risen, punch it down to release the air bubbles. Transfer it to a lightly floured surface and shape it into a loaf by folding the edges of the dough into the center and rolling it up tightly. Pinch the seam closed to seal it. Place the shaped loaf into a greased 9×5-inch loaf pan.
6. Second Rise:
Cover the loaf with the kitchen towel or plastic wrap again and allow it to rise for another 30-60 minutes. The dough should rise just above the rim of the pan. This second rise helps ensure a light and airy loaf.
7. Preheat the Oven:
While the dough is rising for the second time, preheat your oven to 375°F (190°C). The heat will ensure that the bread bakes evenly and achieves a nice golden crust.
8. Bake the Bread:
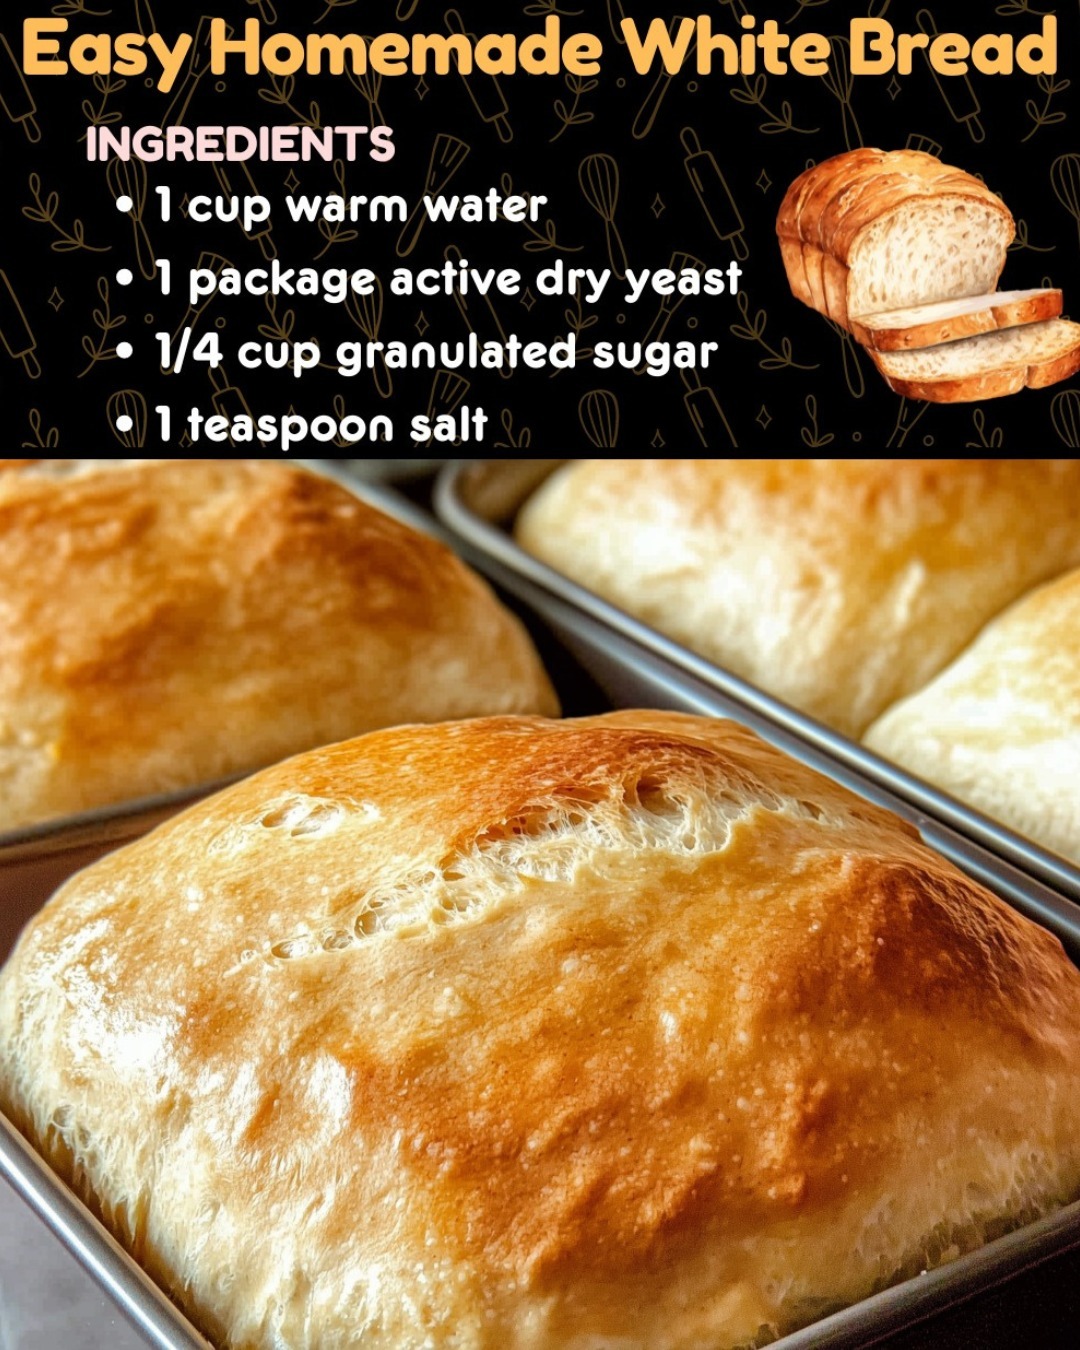
Once the loaf has risen, place it in the preheated oven and bake for 30-35 minutes, or until the top is golden brown. To check if the bread is fully baked, tap the top of the loaf; it should sound hollow. Alternatively, you can use a thermometer—when inserted into the center of the bread, it should read 190°F (88°C).
9. Cool and Serve:
After baking, remove the bread from the oven and allow it to cool in the pan for 5 minutes. Then, transfer the bread to a wire rack to cool completely. This cooling step is crucial for the texture of the bread. Slice once it’s cool enough to handle, and enjoy!
Tips for Perfect Homemade White Bread
- Use Warm Water (Not Hot): The water should be warm enough to activate the yeast but not too hot, as it can kill the yeast. Aim for a temperature around 110°F (43°C).
- Knead Thoroughly: Kneading is important for developing gluten, which gives the bread structure and texture. Don’t rush this step!
- Allow for Proper Rising: Be patient during the rising steps. The dough needs time to develop its flavors and texture. A warm, draft-free area is ideal for rising.
- Check for Doneness: The hollow sound test or using a thermometer ensures your bread is perfectly baked and not undercooked in the middle.
Why Easy Homemade White Bread Works So Well
This Easy Homemade White Bread recipe works so well because it keeps things simple while still producing a high-quality loaf. The combination of flour, water, yeast, and a little butter creates a soft, airy crumb and a slightly sweet, rich flavor that makes this bread perfect for sandwiches, toasting, or serving alongside soups and stews.
This recipe is also highly adaptable. You can swap out the all-purpose flour for bread flour for a slightly different texture or experiment with adding herbs, garlic, or seeds to give the bread more flavor.
Pairing Easy Homemade White Bread
- With Butter or Jam: There’s nothing better than fresh bread with a pat of butter or a spoonful of your favorite jam. Enjoy it as a breakfast treat or snack.
- With Soup or Stew: Homemade bread is perfect for dipping into a warm bowl of soup or stew. Try it with chicken noodle soup, tomato soup, or a hearty beef stew.
- For Sandwiches: Use slices of this soft white bread to create the perfect sandwiches—whether it’s a classic BLT, turkey, cheese, or a veggie sandwich, this bread serves as the perfect base.
Conclusion: Fresh, Simple, and Delicious
Making Easy Homemade White Bread is an incredibly rewarding experience, and this recipe makes it accessible to bakers of all skill levels. With just a few basic ingredients and some patience, you can create a warm, delicious loaf of bread that will fill your kitchen with irresistible aromas and satisfy your cravings.
So why not try baking your own bread at home? Once you experience the joy of fresh, homemade bread, you may never want to go back to store-bought loaves again. Whether you’re a seasoned baker or a beginner, this Easy Homemade White Bread recipe is sure to become a go-to favorite in your kitchen!
ADVERTISEMENT
